Patching Drywall So It Actually Disappears
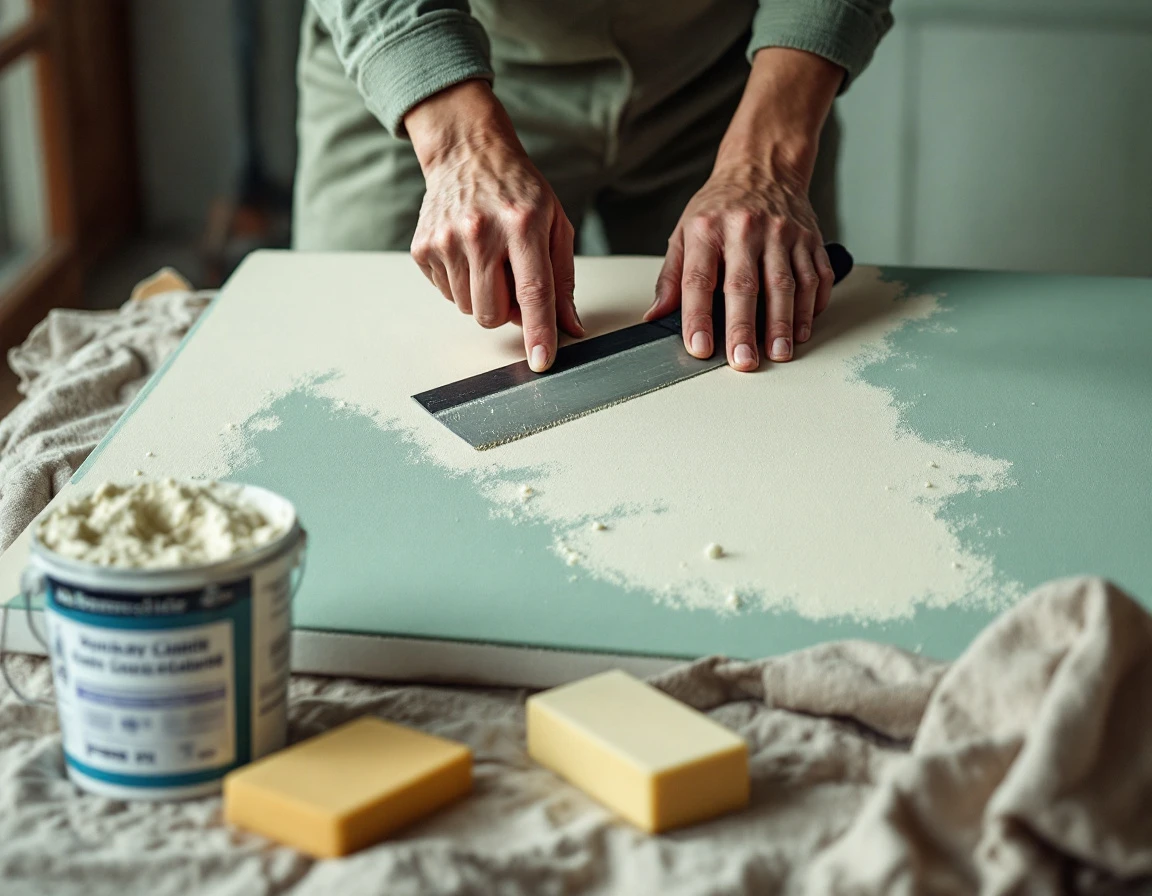
Small drywall holes are easy; making the patch disappear is technique. Match patch type to hole size, apply three thin coats (not one thick one) feathered 6–8 inches past the edge, prime before texturing, and paint the full wall section so sheen stays even. Skipping any step is what makes a patch visible.
Small holes are genuinely easy. What's hard — and what gives patches away — is making the repair disappear into the wall around it. That part is about technique, not the size of the hole.
Match the patch to the hole
A nail hole just needs a dab of spackle and a light sand. A hole up to about 2 inches (doorknob size) is a good fit for a self-adhesive mesh patch or a press-in plastic patch. Anything larger needs a cut-in piece of drywall, screwed to a backing strip or furring piece behind the hole, which is where the job starts asking for real skill.
Where patches go wrong
- One coat of mud. A single thick coat shrinks and cracks as it dries. Three thin coats, each wider than the last and each fully dry before the next, is what actually holds and feathers smooth.
- Not feathering the edges. The mud needs to taper out 6–8 inches past the patch itself so there's no visible ridge. A patch that's "just the hole plus a little" always shows as a hard-edged bump.
- Skipping primer. Unprimed mud absorbs paint differently than the surrounding wall, so even a perfect patch can "flash" — show up as a slightly different sheen once painted.
- Wrong texture match. Orange peel, knockdown, and smooth walls all need a different approach to blend in. Rolling flat mud onto a textured wall is one of the most common reasons a patch is visible from across the room.
The order that works
Cut and set the patch → tape if there's a seam → first coat, wide → sand → second coat, wider → sand → third coat, feathered out → sand → prime the patch → texture to match → paint the full wall section, not just the patch, so sheen stays even.
Where someone experienced earns their keep
Anyone can mud a patch. Feathering it thin enough to vanish and matching a texture you can't quite name is a feel you build by doing it a lot — the exact kind of thing that's worth having someone show you once, on your actual wall, instead of guessing from a video.
Checklist
Patching Drywall So It Actually Disappears
0 of 15 done
Before you start
Doing the job
Before you paint
Want someone who knows standing next to you?
Find a Guide for your patch →The Field Guide is written by AlongSide.Guide. AlongSide connects you with Guides who get paid to work alongside you, and some links on this page go to it.
Patch Drywall So It Disappears
14 chapters, about 28 pages: every step, setting and caution, with diagrams, checklists to print and sources for every fact. The Field Guide above is the quick version; this is how to actually do it.
- 1The job, start to finishFREE
- 2Before you cut: behind and in the wallLOCKED
- 3Rules and permitsLOCKED
- 4Kit listLOCKED
- 5Prep before you startLOCKED
- 6Nail holes, dents and cracksLOCKED
- 7Holes up to about 6 inchesLOCKED
- 8Holes larger than 6 inchesLOCKED
- 9The three coatsLOCKED
- 10Sanding without the dust stormLOCKED
- 11Texture, prime and paintLOCKED
- 12TroubleshootingLOCKED
- 13Printable checklistsLOCKED
- 14GlossaryLOCKED
- SourcesLOCKED
Instant access to every chapter and the PDF. Not what the Course page described? Email within 7 days for a full refund.
Questions people ask
Your three options
Guides who do this
No Guides for this yet. Know this job? Be the first, and your Offer shows up right here.
Know this job? Become a Guide.
Become a Guide →Related Ideas
This guide was written by AI and hasn't been reviewed by a person yet. Know this subject? Sign up free as a Guide, add your credentials, and submit a review. Every review is checked by our team. If it's approved, your name and credentials go on this guide as its reviewer, linked to your Offers.
Sign up free as a Guide →